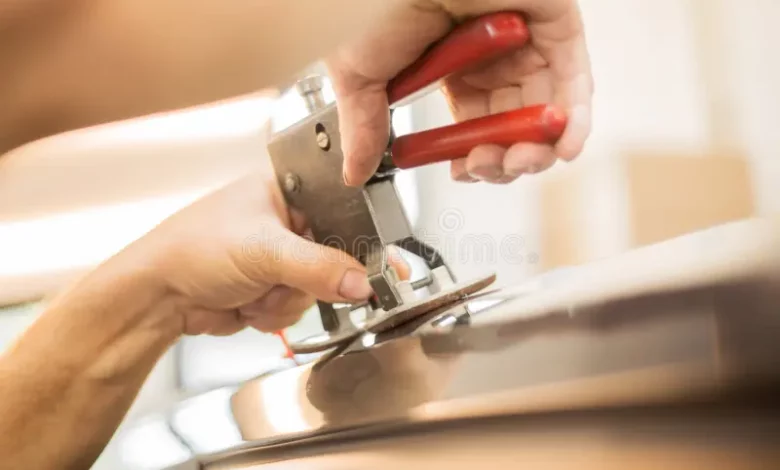
How to Fill Small Dents and Holes in a Car’s Body

There are many products available for fixing small dents, holes, and creases in your car’s body. Most of these products come in kits that include a filler and a hardener that you mix before use. When choosing a kit, find one with clear instructions that make the process easy for you. Know more about icbc body shop in Vancouver
Here’s a simple guide to applying body filler:
Clean the Area
Make sure to thoroughly clean the area you want to repair. Remove all dirt, wax, and rust.
Sand the Area
Use #180 or #220 aluminum oxide sandpaper, or the type recommended for your car’s plastic or aluminum parts. Ask for help at the auto supply or paint store if you’re unsure. Body fillers won’t stick to paint, so you need to sand the area first. Blend the edges of the paint (called feather-edging) to prevent the old paint from chipping through the new paint and to ensure a good bond. Sand gently inward from the edges of the dent to avoid making the damaged area larger.
Mix the Filler and Hardener
Only mix as much hardener and filler as you need for immediate use.
Patch the Hole (if necessary)
If you’re fixing a hole, place something under the hole to keep the filler in place:
– For metal parts: Use fiberglass screening or fine aluminum chicken wire under the hole.
– For fiberglass or plastic parts: Use the appropriate patch kit from the auto supply store.
Thoroughly clean the area under the hole’s edges. Mix a small amount of filler and hardener and apply it to the edges of the screen and the area to be patched to hold the screen in place. If the kit doesn’t have an applicator, use a putty knife or plastic pot scraper. Let the patch dry for several hours before proceeding.
Apply the Filler
Apply the filler slowly and carefully to avoid spreading it outside the dent or hole. The filled area should be slightly higher than the surrounding surface.
Shape the Filler
When the filler starts to harden to the consistency of hard cheese, use a perforated file to level it down to almost the level of the surrounding paint.
Let It Dry
Wait 20 to 30 minutes until the filler is completely dry. Then, sand the area with medium-grain sandpaper until it matches the surrounding surface perfectly.
Prime and Paint
Once the area is smooth and even, apply primer and touch up the paint. Primer can also act as a final layer of filler for tiny holes or irregularities. Apply several layers of primer, sanding each layer with a sanding block, until the area is perfectly smooth. To check for smoothness, wet the primer and observe how light reflects off the surface.
By following these steps, you can effectively fill small dents and holes in your car’s body, making it look as good as new.

